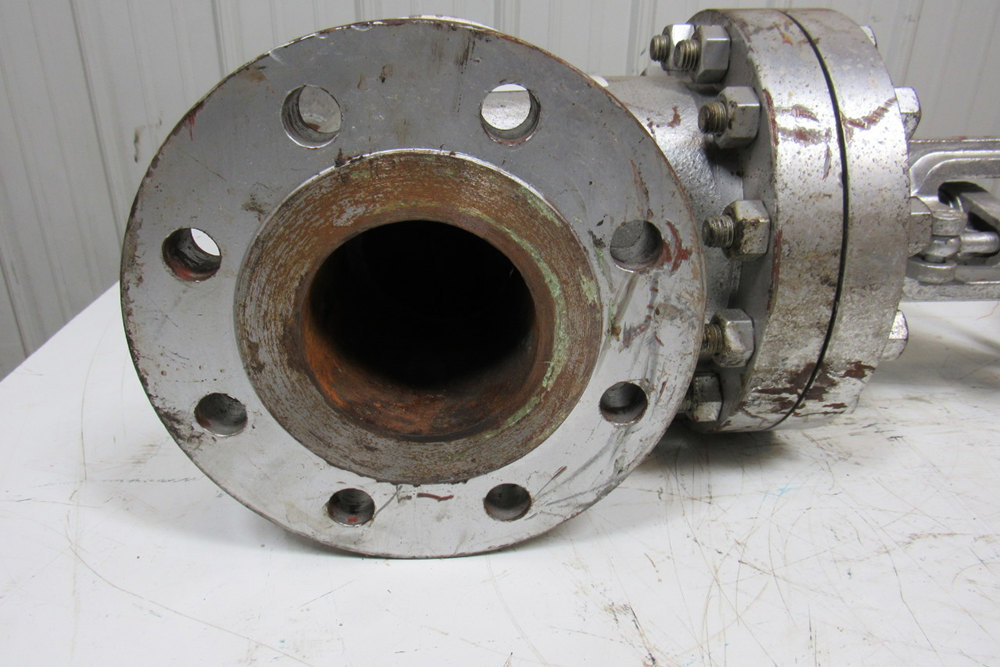
The gate valve is the main component of the oil ( gas ) wellhead device. The common faults of several gate valves in use are as follows.
1. Leakage of gate valve and gate valve connection
First of all, check whether the gate valve and the gate valve connection bolt are tightened. If not tightened, the sealing gasket ring and the flange sealing groove surface are not fully combined, which often leads to leakage. The bolts and nuts should be checked sequentially, tightening all bolts until the gasket ring is pressed. Secondly, the size and accuracy of the sealing gasket ring and flange sealing groove surface should be checked. If the sealing contact surface size is not correct or too rough, the sealing gasket ring should be repaired or updated. Furthermore, check whether there is pitting, sand holes, sand holes or impurities in the contact surface between the gasket ring and the flange sealing groove. If there are such defects, they should be repaired, repaired or cleaned accordingly.
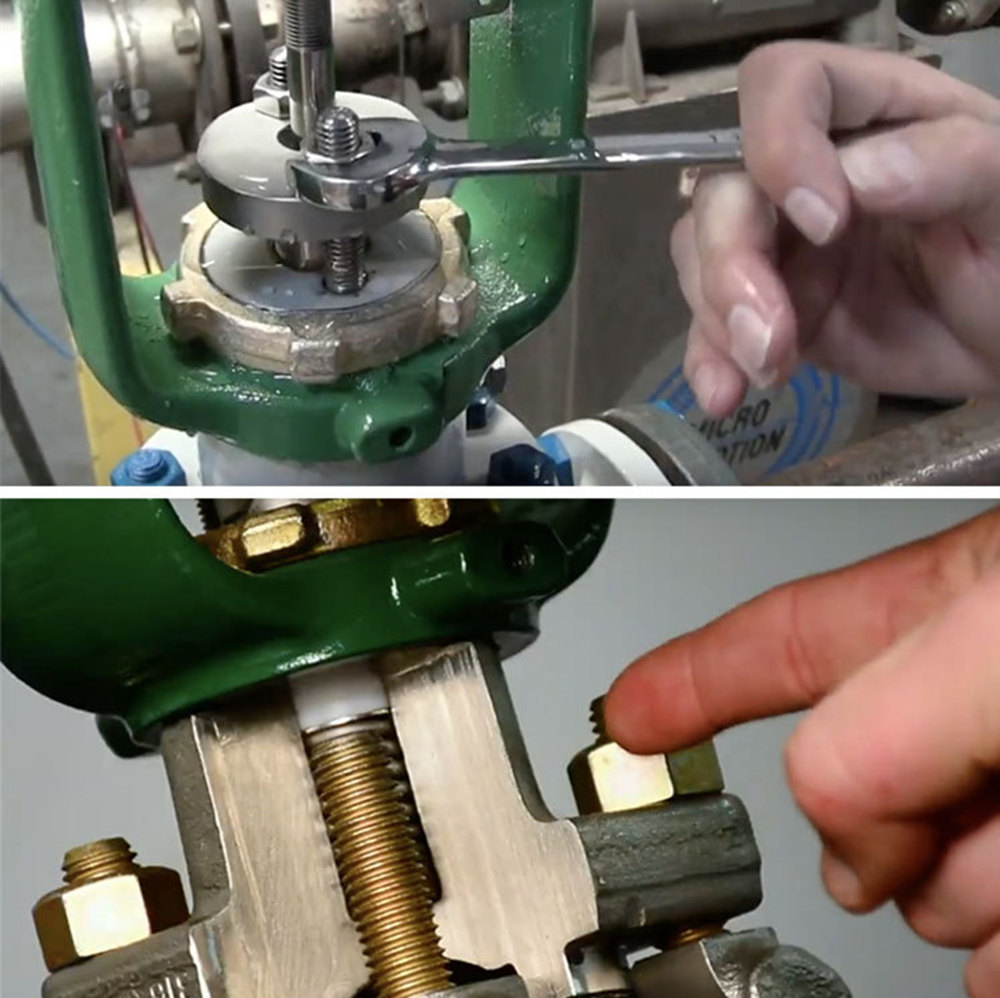
2. Valve cover leakage
Valve cover leakage, this fault phenomenon is mainly manifested in the leakage of packing seals. First, check whether the seal is selected correctly and whether it matches the sealing groove. If there are such problems, the sealing ring should be replaced or the sealing groove should be repaired. Secondly, check whether the seal has burrs, fracturing, twisting, etc. In this case, the seal must be replaced. Thirdly, check whether the sealing surface of each sealing groove is rough or has other defects. If there are defects, eliminate the defects or update the damaged parts.
There are packings sealed by compression in the valve cover or bracket. The installation of these packings should be checked. If it is found that the installation of the upper and lower packings is reversed, it should be removed and re-installed according to the correct method, with particular attention to the joint surface of the packing seal. Furthermore, check whether the accuracy of each contact surface of the seal meets the specified requirements.
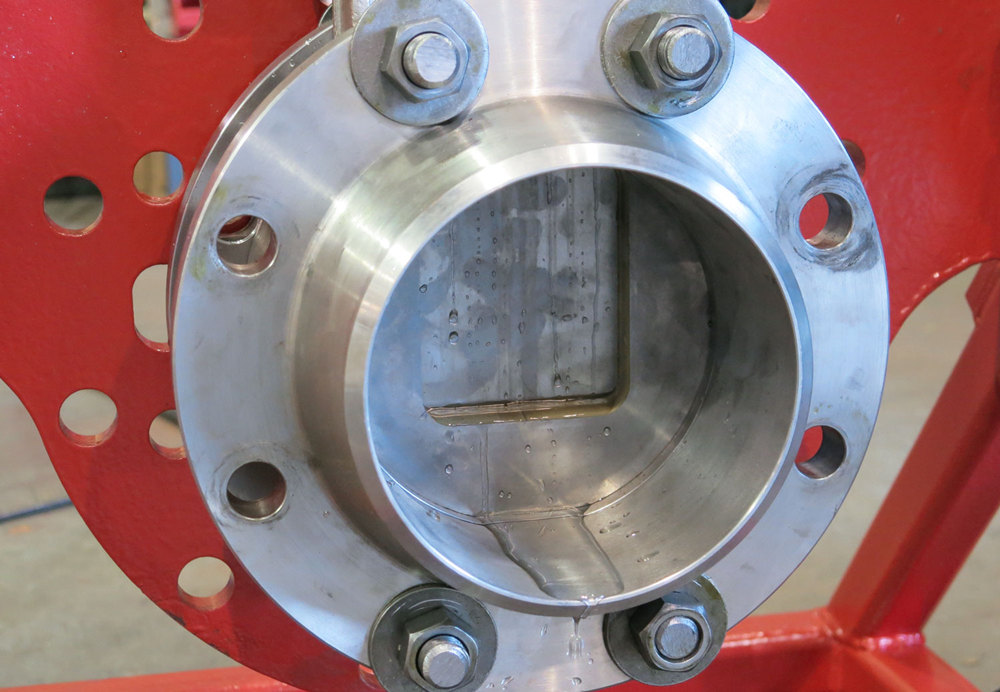
3. Valve cavity surface leakage
In the casting process of the valve body, sometimes there are casting defects such as sand holes, which are difficult to be found in the machining process. Once the pressure is applied, the hidden casting defects will be exposed. In this case, it should be repaired or updated.
4. Leakage at valve seat valve plate
Leakage at the seat valve plate is the most common phenomenon in the installation or maintenance of gate valves.
Generally, it can be divided into two categories : one is sealing surface leakage, and the other is sealing ring root leakage. First of all, the accuracy of the contact sealing surface between the valve seat and the valve plate should be checked. This sealing surface should at least be ground. If it is found that the surface accuracy is too rough, it should be removed and ground again. Secondly, check whether there are pitting, indentation, sand holes, cracks and other defects on the sealing surface. In this case, the valve plate or valve seat should be replaced.
For the valve seat with pressure spring, the elasticity of the pressure spring should be checked to meet the requirements. If the elasticity is weakened, the pressure spring should be updated. Furthermore, check whether the valve plate and the valve stem T-shaped connection is too loose, resulting in the inclination of the valve plate during the pressing process. In this case, the valve plate should be removed and adjusted to the best size.
At the internal opening of the valve body, it is easy to enter foreign objects such as welding, iron filings and impurities during the installation process. Such debris should be cleaned before installation. If you forget to clean up or clean up incompletely, it will cause the valve plate to close less than the expected depth and cause leakage. In this case, the valve body should be removed and re-cleaned.
When installing the valve seat, it should be installed with a special installation tool, and it should be checked whether the valve seat is installed in place. If the screw thread does not reach the expected depth, there will be leakage at the valve seat. In this case, the valve seat should be installed with a special tool again.
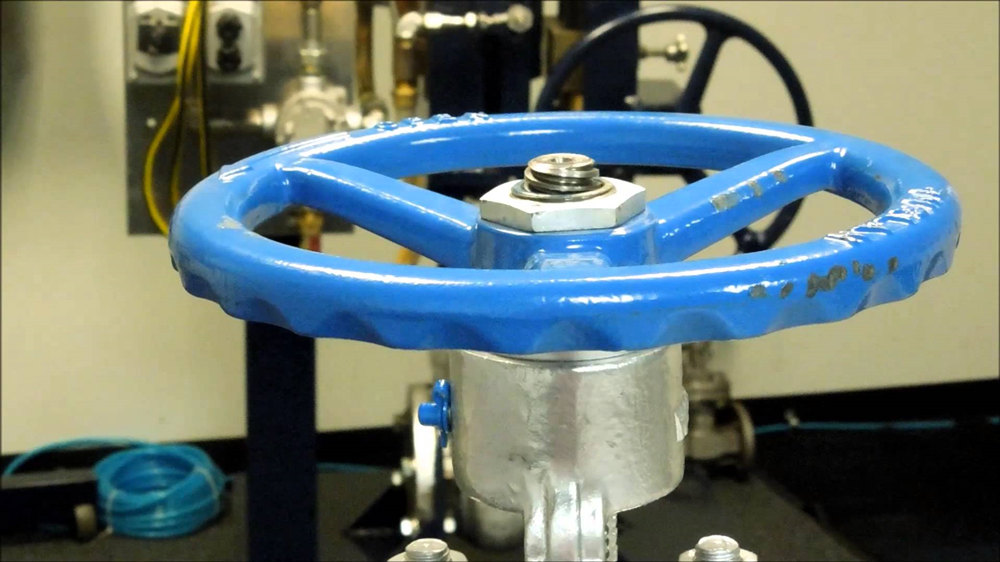
5. Handwheel rotation is not flexible
(1)The main reason.
①Valve stem bending.
②Surface accuracy is not enough.
③Operation too hard to thread damage.
④Lack of lubrication or lubricant failure.
⑤Valve stem nut tilt.
⑥Inaccurate tolerance, bite too tight.
⑦Open gate valve lack of protection, the valve stem thread is covered with sand, or rusted by rain, dew, frost and snow.
⑧Thread is corroded by medium ( refers to the non-rising stem gate valve or valve stem nut in the lower gate valve ).
⑨Improper selection of materials, such as the valve stem and valve stem nut for the same material, easy to bite.
(2) Preventive measures and solutions.
①Strict control of force, not hard torsion (refers to the handwheel and stem directly connected gate valve).
②Improve the processing quality to meet the standard requirements.
③Careful operation, do not make strong when closing, do not open to the top dead point, to the dead point should reverse the handwheel one or two circles, so that the upper side of the thread close, so as to avoid the medium to push the valve stem upward impact.
④Often check the lubrication condition, maintain the normal lubrication state.
⑤Straighten or correct the stem nut.
⑥Revise or update the valve stem nut to make it meet the standard specification.
⑦Often clean valve stem nut dust, to prevent rust.
⑧Open gate valve to add stem protection cover.
⑨It is better to use copper for valve stem nuts. Do not use the same material as the valve stem.
Post time: Mar-10-2023